


Scaling Claude Code: A Complete Guide to Using AWS Kiro Services

While utilizing the Kiro IDE free tier with a local gateway is a great way to experiment with Claude Code, developers and teams looking to build production-level applications often need a more resilient architecture. Relying on local proxy servers can introduce latency, authentication hurdles, and scaling limitations.
The solution? AWS Kiro Services.
By utilizing AWS Kiro, you can tap into managed infrastructure that handles authentication, scaling, and team usage seamlessly. Better yet, you can leverage your existing AWS Credits (including AWS Activate) to cover the costs of premium Kiro plans like Kiro Pro or Power.
Here is the complete guide to provisioning Kiro through AWS and connecting it to your Claude Code workflow.
☁️ Why Combine Claude Code with AWS Kiro Services?
Using Claude Code through AWS Kiro rather than a local free-tier gateway offers significant architectural and operational benefits:
-
Zero-Maintenance Architecture: No need to run and maintain a local Python gateway or manage complex routing configurations.
-
Native IAM Security: Access is managed through AWS Identity and Access Management (IAM), ensuring secure, managed credentials for your whole team.
-
Cost Efficiency via AWS Credits: Startups and developer teams can apply their AWS Activate credits directly to Kiro subscriptions.
-
High Availability & Scalability: Built for production use, ensuring reliable performance without rate-limiting bottlenecks during intensive coding sessions.
⚙️ Step-by-Step Setup: Activating AWS Kiro
Before interacting with the Claude CLI, we need to provision the Kiro infrastructure via the AWS Console.
Phase 1: AWS Console & IAM Provisioning
1. Log in as the Root User To configure billing and third-party service integrations properly, you will need root access to your AWS account. Log into the AWS Management Console as the root user.
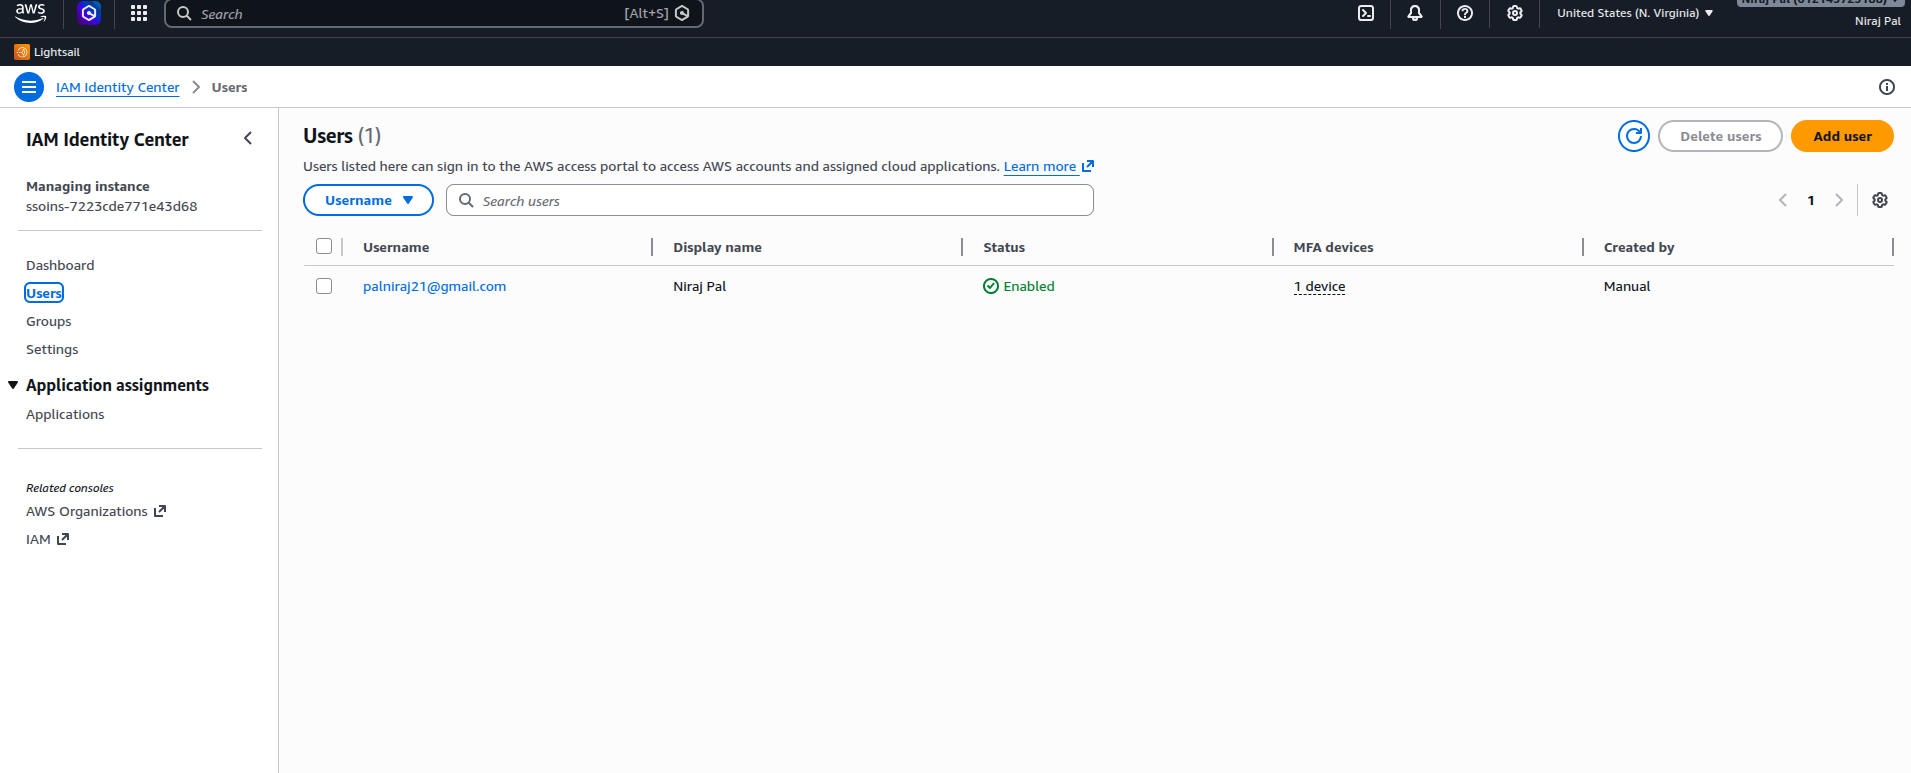
2. Create IAM Users for Your Team. Each teammate needs their own IAM user.
-
Navigate to IAM → Users → Create User and set them up normally.

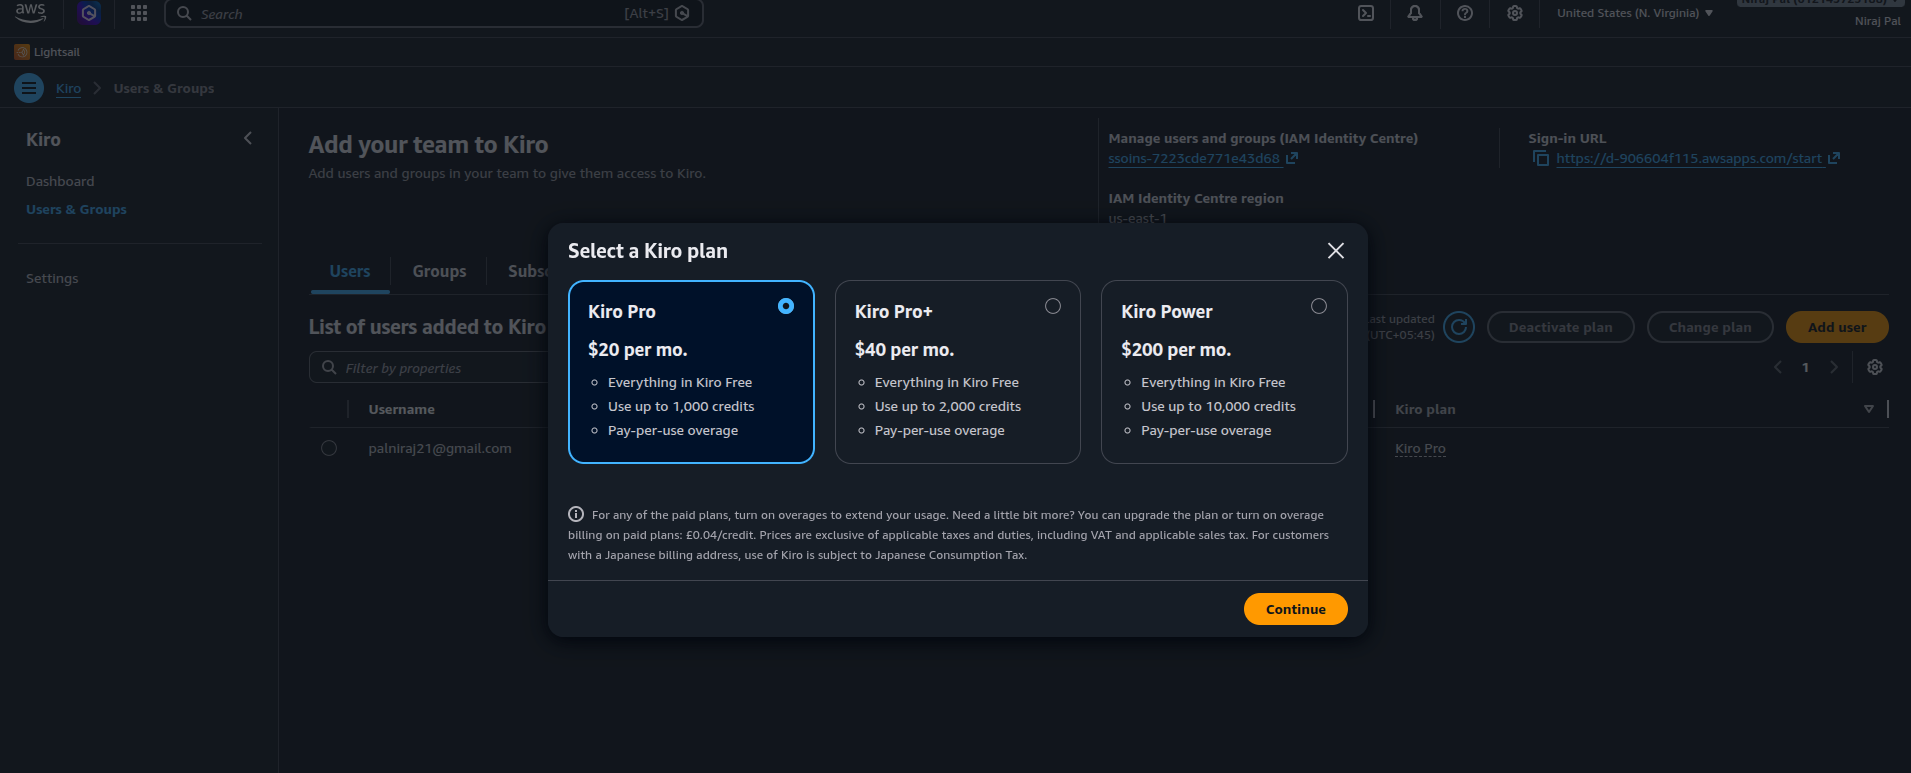
3. Enable a Kiro Plan from the AWS Console
-
In the main AWS console search bar, type “Kiro” and open the service page.
-
You will be presented with the available enterprise tiers: Kiro Pro, Pro Plus, and Power.
-
Select your desired plan.
-
From the assignment dropdown menu, pick the IAM user you created in Step 2.
-
Confirm the setup. The plan is now actively attached to that specific IAM user.
Phase 2: Client-Side Authentication
Now that the infrastructure is provisioned, you need to connect your local development environment.
4. Download & Install the Kiro IDE Head to kiro.dev and download the latest version of the Kiro IDE for your operating system.
5. Log In Using IAM Credentials Launch the IDE. Instead of logging in with a standard email/password, select the AWS IAM authentication method. Input the IAM username and password provisioned in Phase 1.
Your Kiro IDE is now securely synced with your AWS Kiro plan, bypassing the need for local API key management!
PART 2: Using Claude Code with AWS Kiro Services
What Is Kiro IDE? (Quick Recap)
Kiro IDE is a developer environment built specifically for AI-assisted coding. Think of it like VS Code, but with native Claude integration and a credit system that lets you run Claude Code without paying Anthropic API rates directly. You can download it at kiro.dev.
New users get 500 free credits on signup — and another 500 if you install the Kiro CLI with the same account.
Want to leverage Claude Code but looking to optimize your API costs? By combining Kiro’s free tier with a local gateway and router, you can run Claude Code seamlessly using your free Kiro credits.
Next, we’ll set up a local gateway. This tool creates a local server that acts like the OpenAI API to other apps, but secretly routes the requests to Kiro using your free credits.
-
Install Python: Ensure you have Python (3.10 or newer) installed on your machine.
-
Clone the Gateway Repository: Open your terminal or command prompt and run:
git clone https://github.com/Jwadow/kiro-openai-gateway.git cd kiro-openai-gateway -
Install Dependencies:
pip install -r requirements.txt -
Setup Your Kiro Credentials:
cp .env.example .envOpen the
.envfile and make sure you set aPROXY_API_KEY(e.g.,my-super-secret-password-123). You will need this for the next phase. -
Run the Server:
python main.py
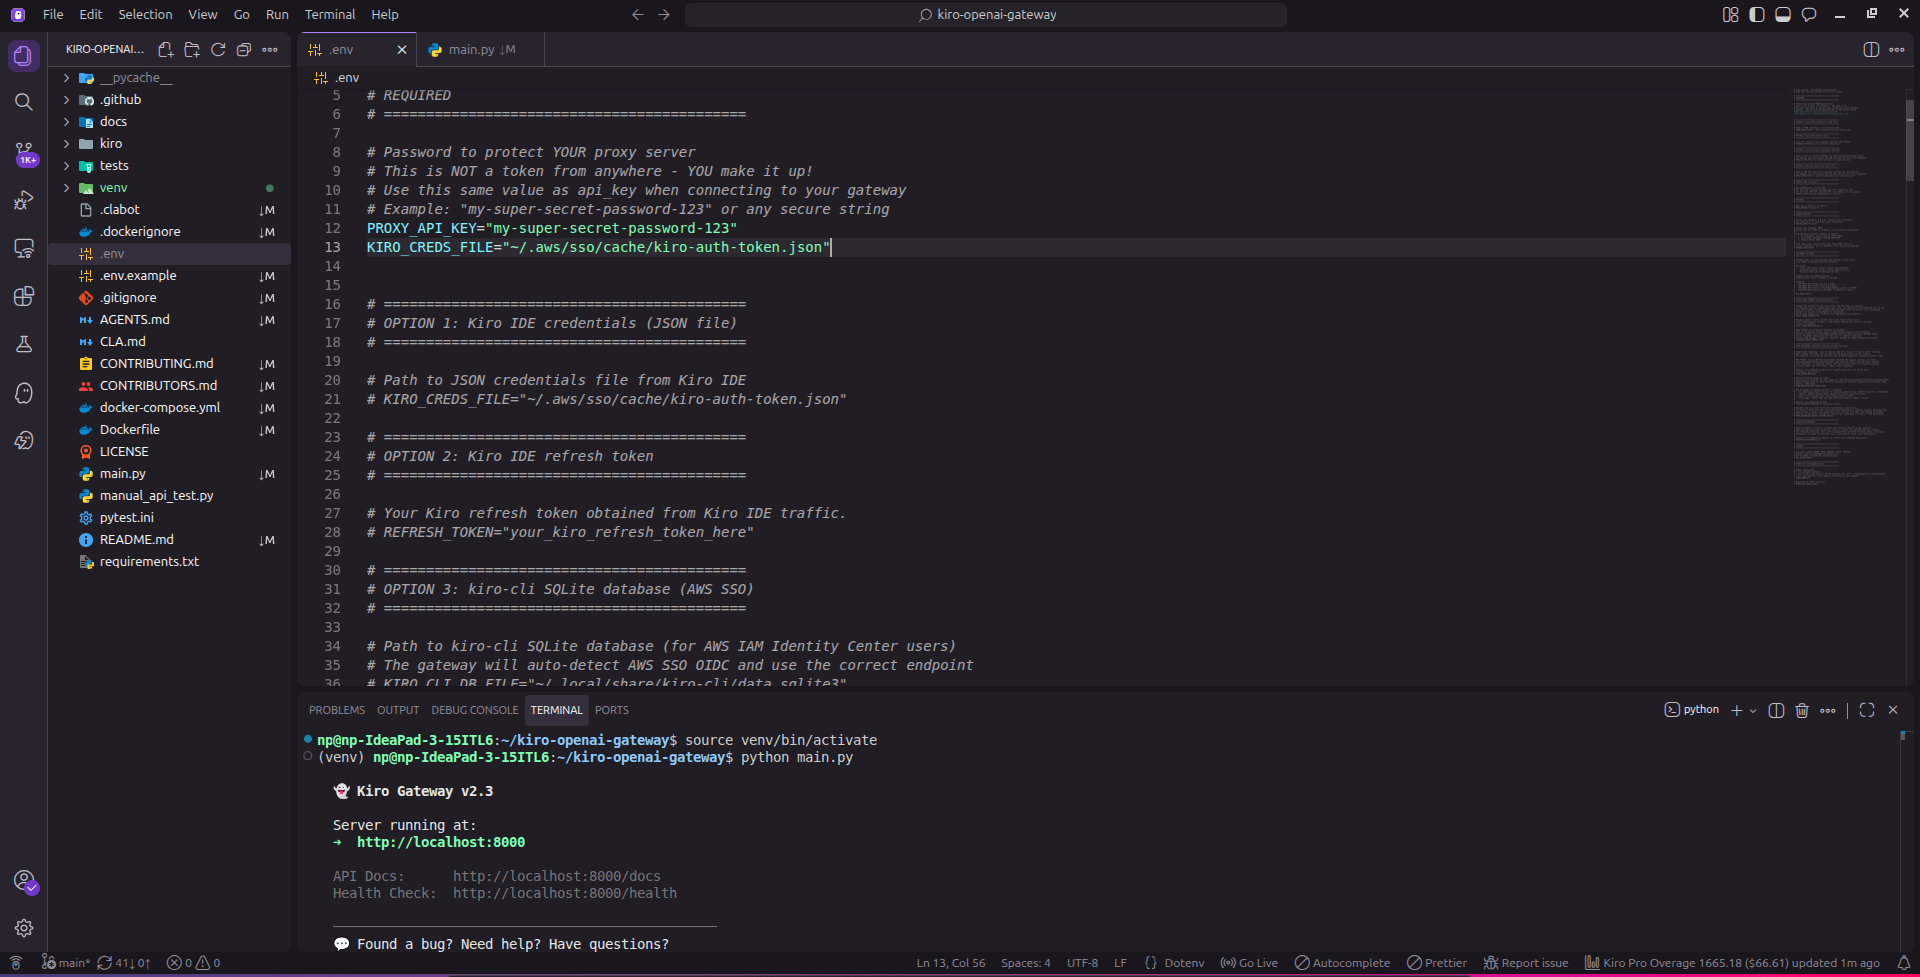
You should see a message confirming that the server is running at http://localhost:8000. Keep this terminal window open.
Phase 1: Set Up Claude Code Router
Now, we need to wrap the official Claude CLI and redirect its requests to your new local Kiro gateway.
-
Install Node.js: Make sure Node.js is installed on your system.
-
Install the CLI Tools: Run the following commands to install the official Claude Code CLI and the Router wrapper globally:
npm install -g @anthropic-ai/claude-code npm install -g @musistudio/claude-code-router -
Configure the Router: Create (or edit) the configuration file located at
~/.claude-code-router/config.json. Paste in the following configuration:{ "LOG": true, "LOG_LEVEL": "debug", "Providers": [ { "name": "kiro", "api_base_url": "http://localhost:8000/v1/chat/completions", "api_key": "my-super-secret-password-123", "models": [ "claude-sonnet-4-5", "claude-haiku-4-5", "claude-opus-4-5" ], "transformer": { "use": ["openrouter"] } } ], "Router": { "default": "kiro,claude-sonnet-4-5", "think": "kiro,claude-sonnet-4-5", "background": "kiro,claude-sonnet-4-5", "longContext": "kiro,claude-sonnet-4-5", "webSearch": "kiro,claude-sonnet-4-5" } }
Important: Ensure the
api_keyin this JSON file exactly matches thePROXY_API_KEYyou set in Phase 2. The model nameclaude-sonnet-4-5corresponds to the models provided by the Kiro Gateway. You can use latest model such asclaude-sonnet-4-6,claude-opus-4-6, if you have AWS Kiro Services
Phase 2: Launch!
You are ready to go. Let’s fire it up.
-
Start the Router Service: Open a new terminal window and start the router’s background service:
ccr start -
Run Claude Code: Instead of using the standard
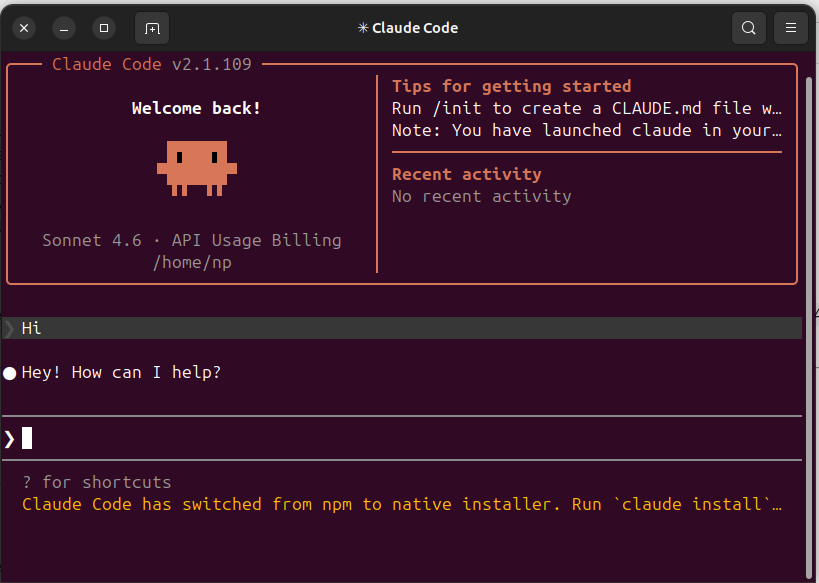
claudecommand, run your new router wrapper:ccr code -
Test it out: Type a simple prompt like
Hi!to verify everything is routing correctly.

Your Kiro CLI credits will now be utilized when you run Claude Code via the router. Happy coding!
⚖️ Architecture Comparison: Free Tier vs AWS Kiro
| Feature | Free Tier (Local Gateway) | AWS Kiro Services |
| Setup Complexity | Medium (Requires background servers) | Low (Native AWS Integration) |
| Authentication | Local .env API Keys |
AWS IAM Managed Credentials |
| Scalability | Limited to local machine | High (Team-ready) |
| Cost | Free (Trial credits) | Paid (Eligible for AWS Credits) |
| Best Use Case | Solo testing & learning | Production apps & Team collaboration |
🎯 Final Recommendation
If you are just writing your first lines of AI-assisted code, the local Kiro free tier remains an excellent starting point. However, as soon as you transition into serious, multi-phase project development or begin collaborating with other engineers, moving your workflow to AWS Kiro Services is the logical next step. It provides the stability and security required for modern cloud deployments.
Have you migrated your Claude Code workflow to AWS yet? Let us know your experience in the comments below! 👇


Be the first to leave a comment!